Technology
So to edit my film I used Premiere Pro CS6 which was the
editing software that I created the edit project on for some of the text like
the title of the film I used Photoshop CS6 and the main reason I used this was
just to have more options to mess around with the fonts abit more like colour
fill and any other options just have something different over the vanilla versions
of the fonts.
Process and Tools
Throughout the edit process I noticed multiple problems with
the clips like a boom mic at the side or top or a member of the crew slightly
in shot so I used just a simple and quick fix and that was to slightly enlarge
the clip making sure that the overall quality of the clip wasn’t ruined and
that the problem was fixed. Some of the transition that I originally wanted
just didn’t suit the style of the film so I went with a page peel that while
might seem tacky, but perfectly suits the cheesy style of the film. Throughout the edit I was adjusting sound
levels using the audio gain tool for whether dialogue was being drowned out by
the sound track or the sound levels were reach abnormal levels and would
distort so I had to watch the film multiple times making sure that sound levels
were just right and didn’t cause any problems once burnt onto a DVD. Because of
what the film was which is a sort of small scale super hero movie I wanted some
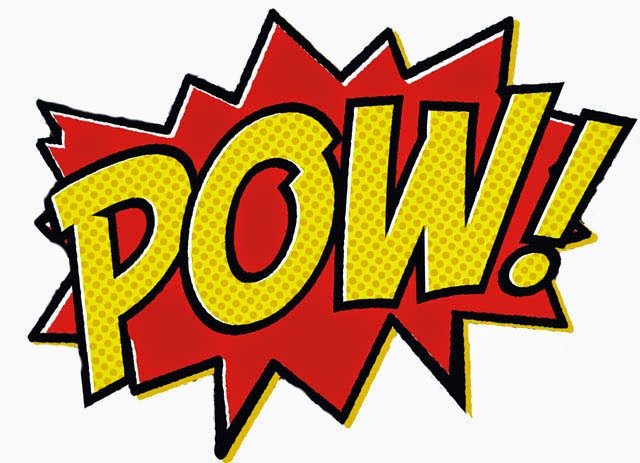
of the classic screen pop ins like POW and ZAP so I used Photoshop to get rid
of the background of some images that had these small graphics to then import
to the edit project and then add to the films timeline.
This was one of the images that I used for the film but first I had to crop the white that was sorrounding the actual graphic before putting it in the film
Quality
Overall I think the quality of the edit is hit and miss some
things turned out well but others like the opening title seem boring and rushed
which is why I have created another version of the film I also noticed once the
film was burned onto DVD that the sound was different to how it was in the edit
project sometimes sound effect were way too loud and others like the sound
track were not even noticeable in the film. Throughout the process I have
learned some new tools and methods like simply enlarging a clip to get rid of
any small mishaps to the sides of the clips I’ve learnt that you don’t truly
know what the finished film will be like until you get it on a DVD and on a big
screen so I have to pay more attention and look out for any mistakes. I would
say sometimes that edit came out well like adding sound effects that add to the
cheesy factor that the film has going for it and sometimes the soundtrack would
line up perfectly to what you were seeing on screen like when the film ends the
sound track hits a real high note when the screen goes to black before the
credits but overall I am a little disappointed which is the reason for the
newer version with a higher attention to sound, detail and better opening.
In This image you can see one of our crew memebers getting ready to throw the comic book at the right side of the screen this is one of the moments when I enlarged the clip.
Once enlarged the hand at the side was no longer visible.
Issues I had with footage
Most of the issues that I encountered were bad framing with the camera so I had to re size the clips sometimes if the issues were at the side although sometimes adding the cinema scope helped when we had a boom mic problem in some clips.
Audio levels were very different from one another in each clip so I had to keep adjusting the audio levels throughout the edit making sure it didnt become to low or high and that it stayed more or less the same through the film
In this scene one of our actors has to shout but the soundtrack was louder than this so I made the clip slightly louder to reach -6 on the sound scale and then lower the audio level on the soundtrack. This helped balance the scene out sound wise.


